Frappe Cloud
Marketplace
Search for an app
Frappe
Products
Insights

Installation Guide
installs
About
WhatsApp Integration user manual
Our WhatsApp integration product helps businesses in seamlessly integrating their ERPNEXT system with WhatsApp. WhatsApp has become the crucial part of businesses, to stay connected with the customers and offer them with the customized user experience. To make it happen, our integration product is all you need.
Key features!
- Hassle-free integration with WhatsApp API.
- Dynamically create WhatsApp templates to send personalized messages.
- Businesses can review an end-to-end user activity.
- Instant notifications to keep you updated.
- Feature to send multiple & individual messages.
Pre-requisites
- Account on WATI
- WATI configuration
- Access token & API for WATI
Setup:
Setup WhatsApp Integration in 5 simple steps!
Step 1 – Prior to getting started with WhatsApp integration, make sure you have a WATI account followed by end-to-end configuration.
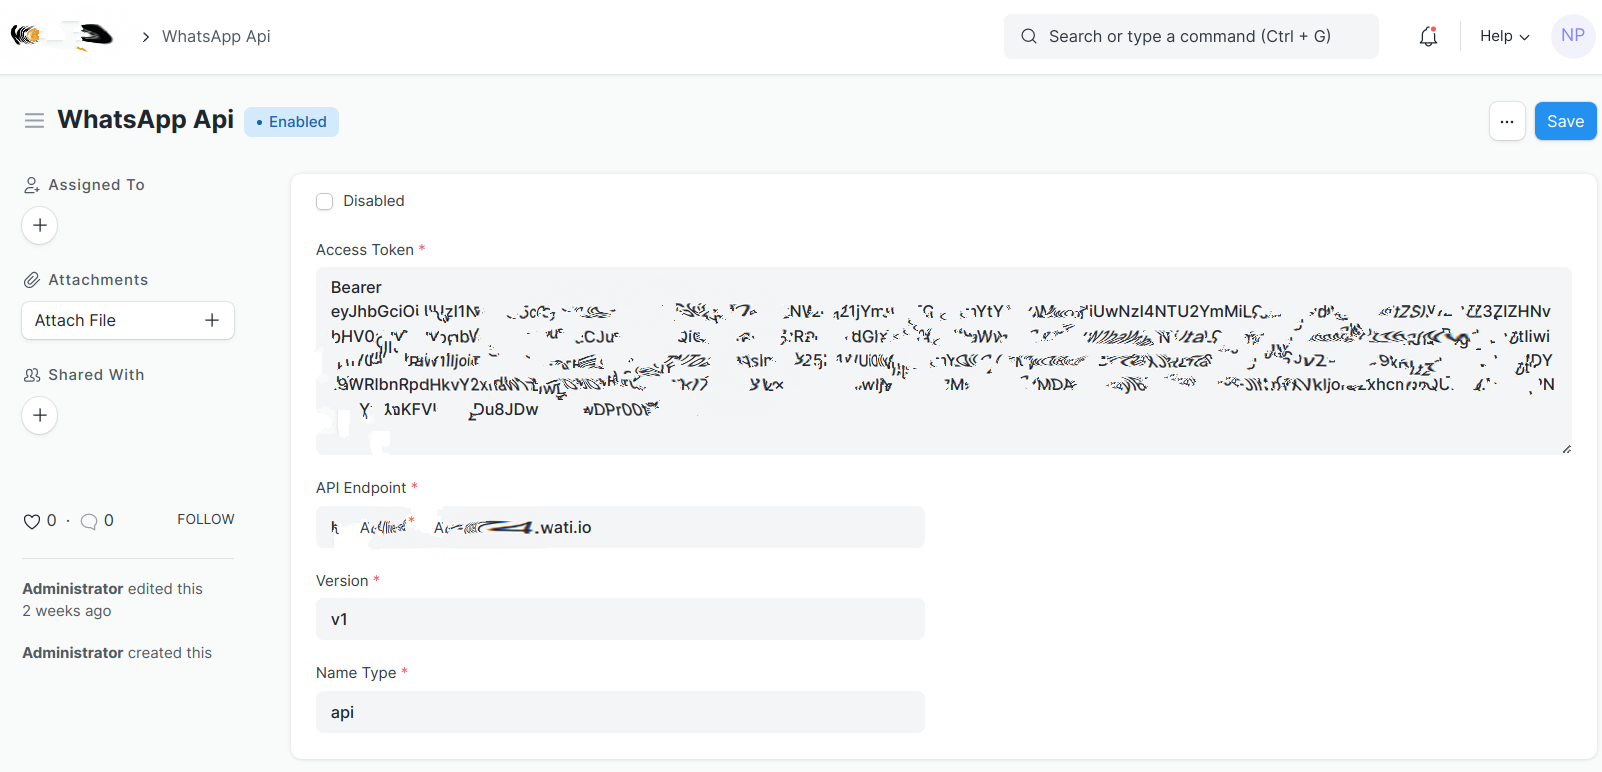
Step 2 – Firstly, Enable the API in your WATI account through the check box and then enter your access token, api endpoint, version, name type for WhatsApp integration. You can enable or disable the api accordingly.
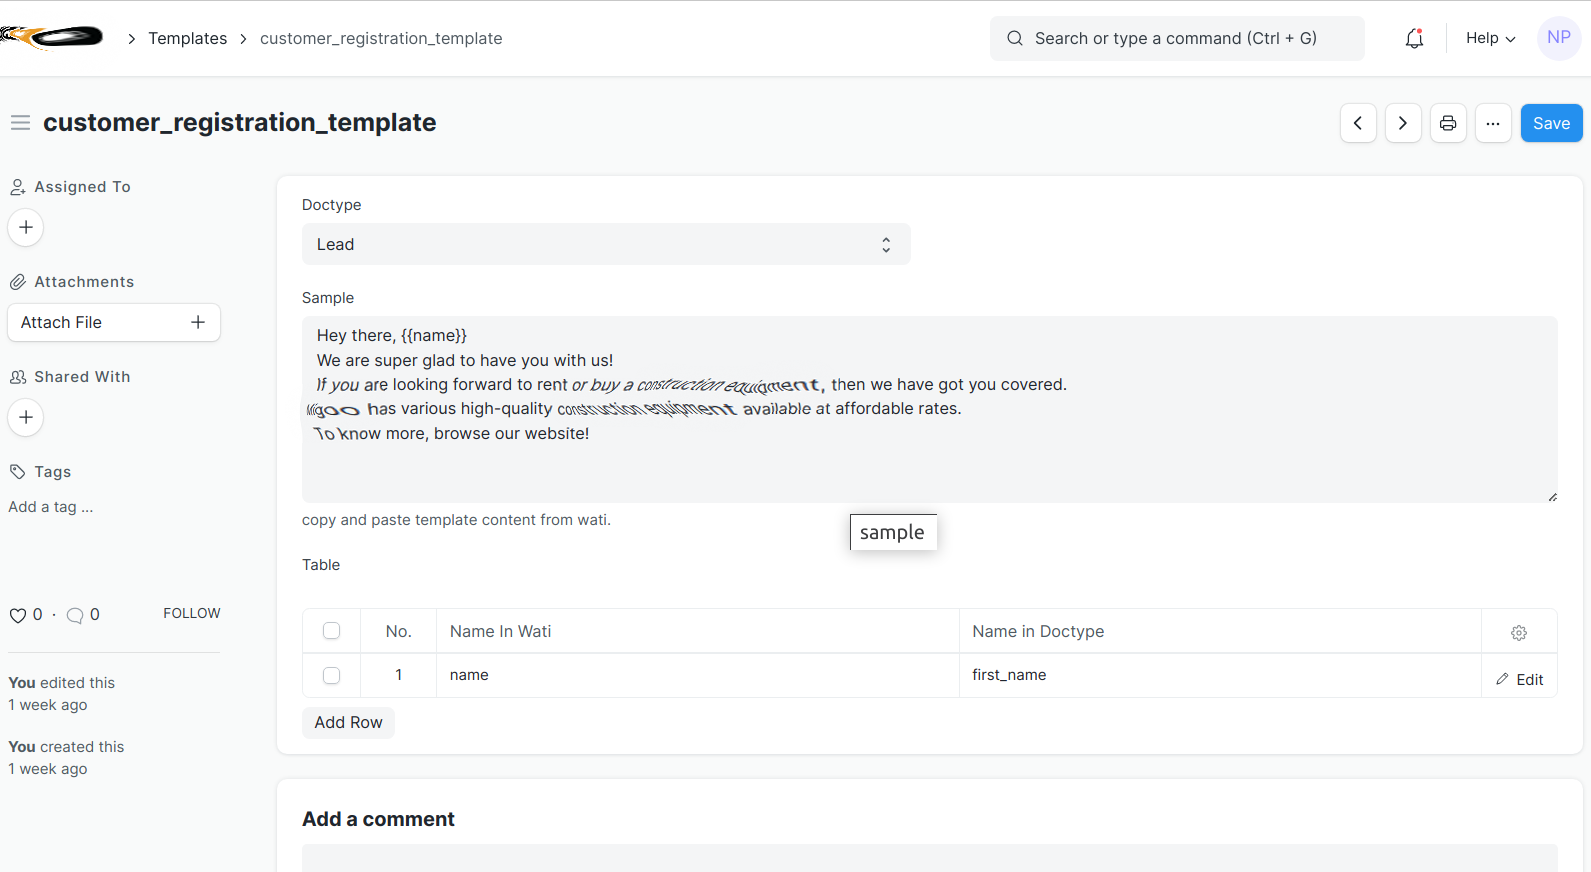
- Step 3 - Create Dynamic Templates – After enabling, the next step includes creating a new template in wati. All you have to do is copy template name and content and paste in templates doctype. You can select the required fields for dynamic templates you need to add for end-to-end personalization.
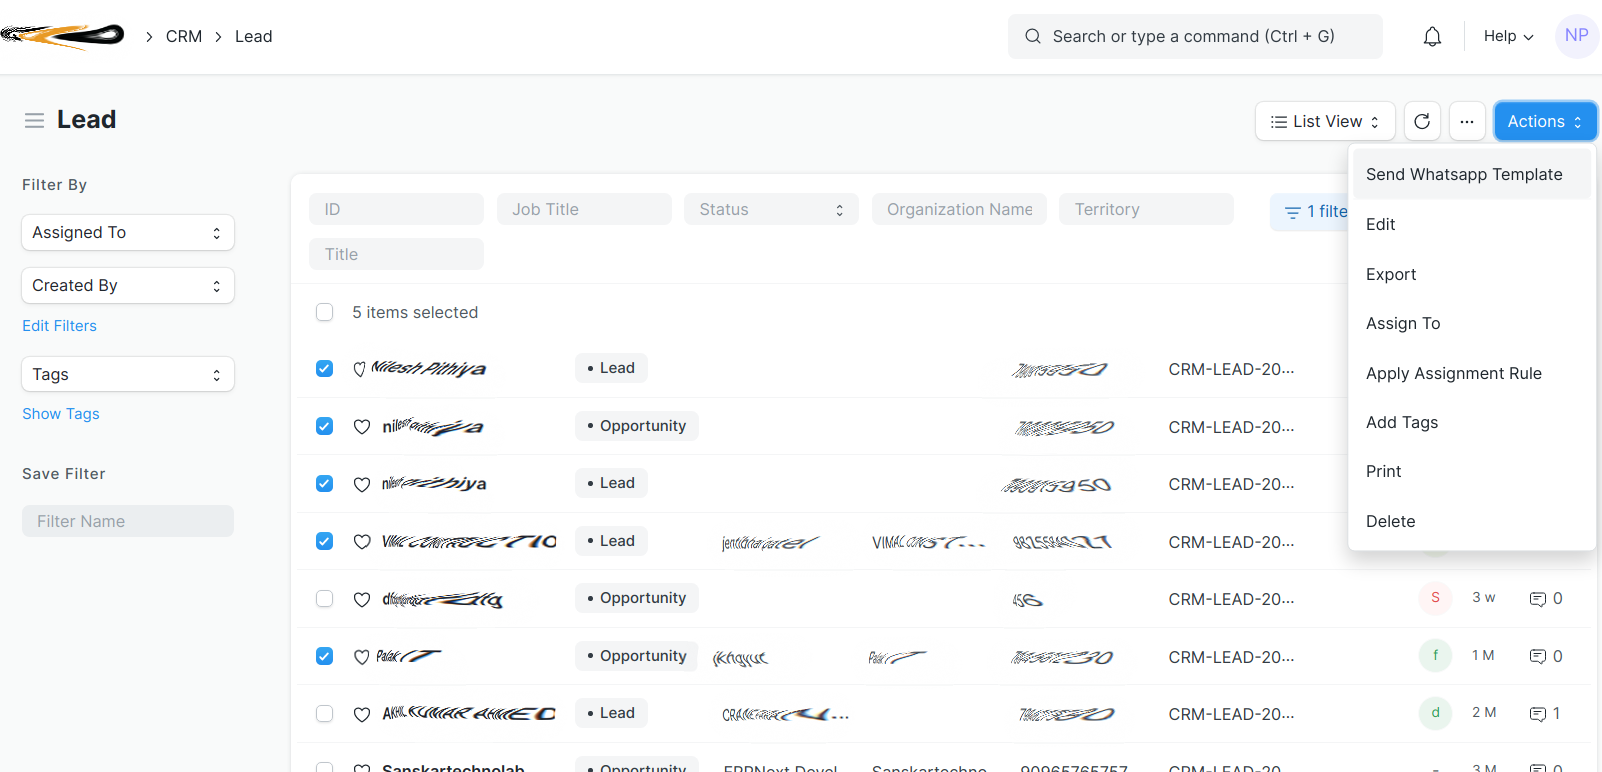
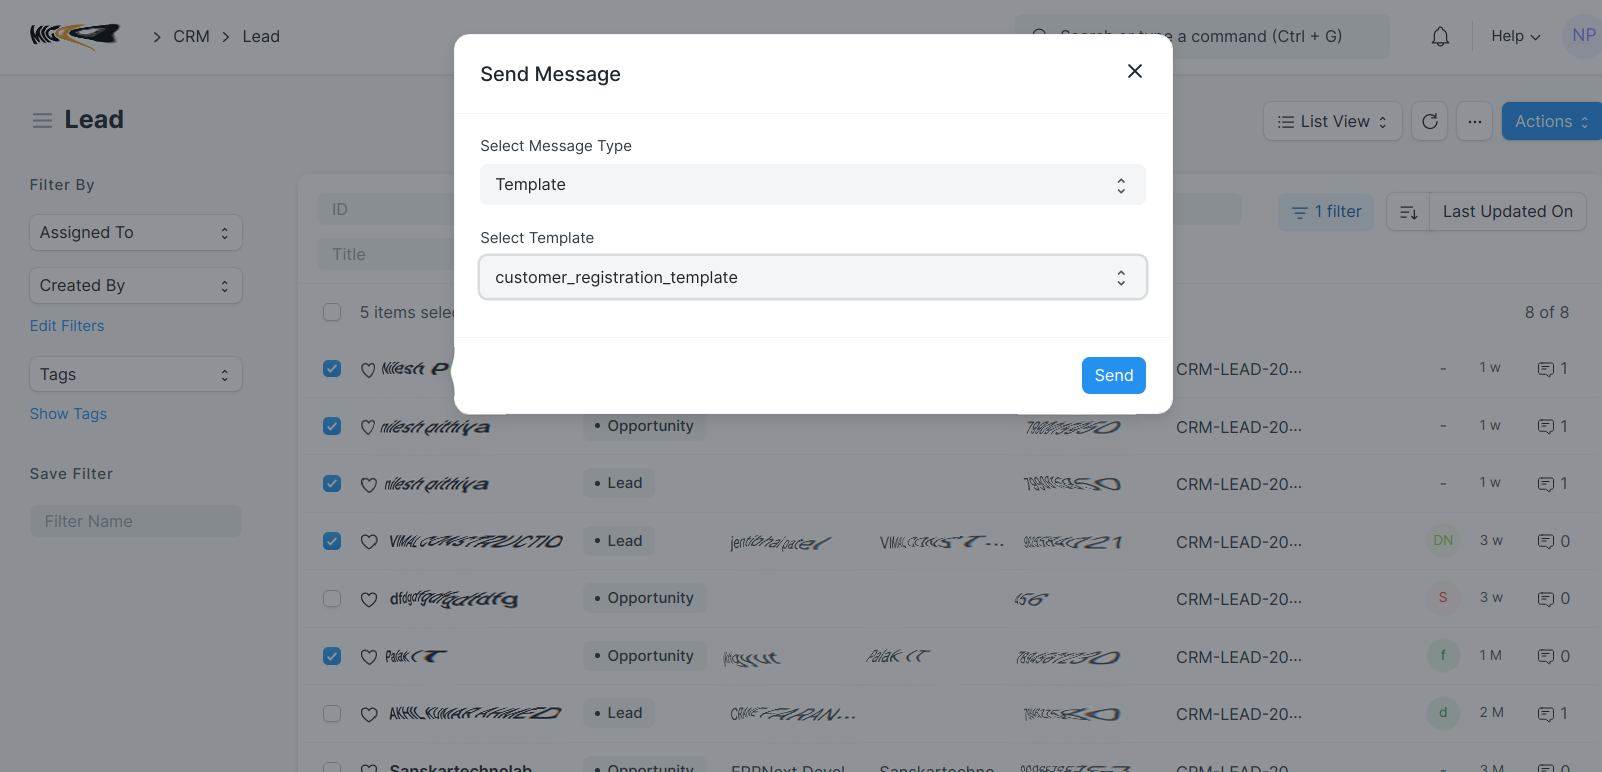
- Step 4 – After creating a customized template, you can select the individuals or Individual with a WATI template to send multiple and single messages from Lead, Opportunity and Supplier List.
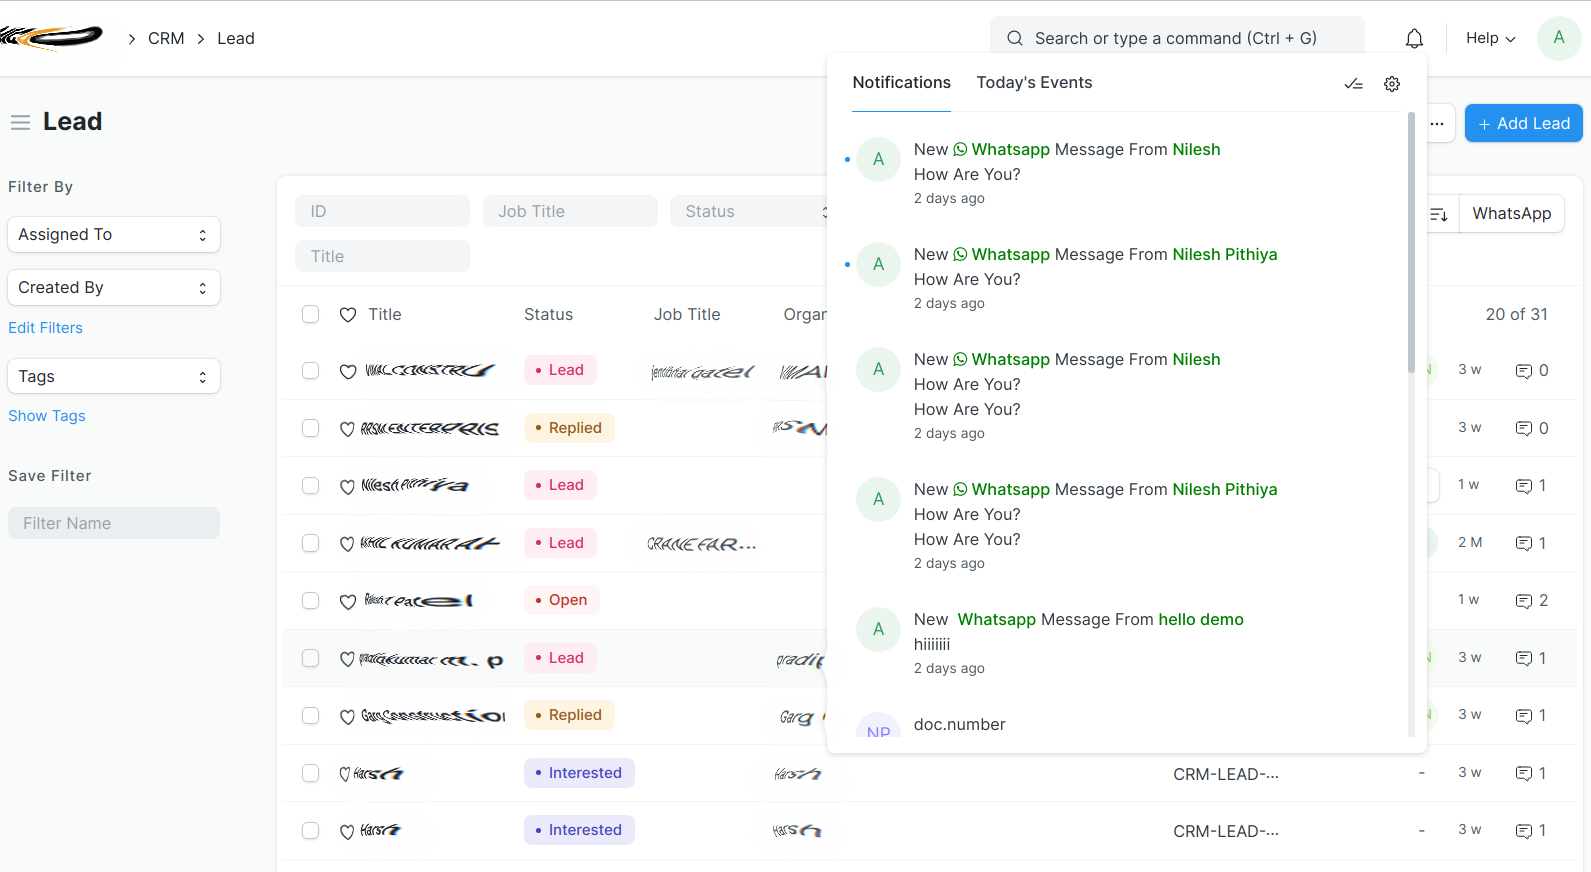
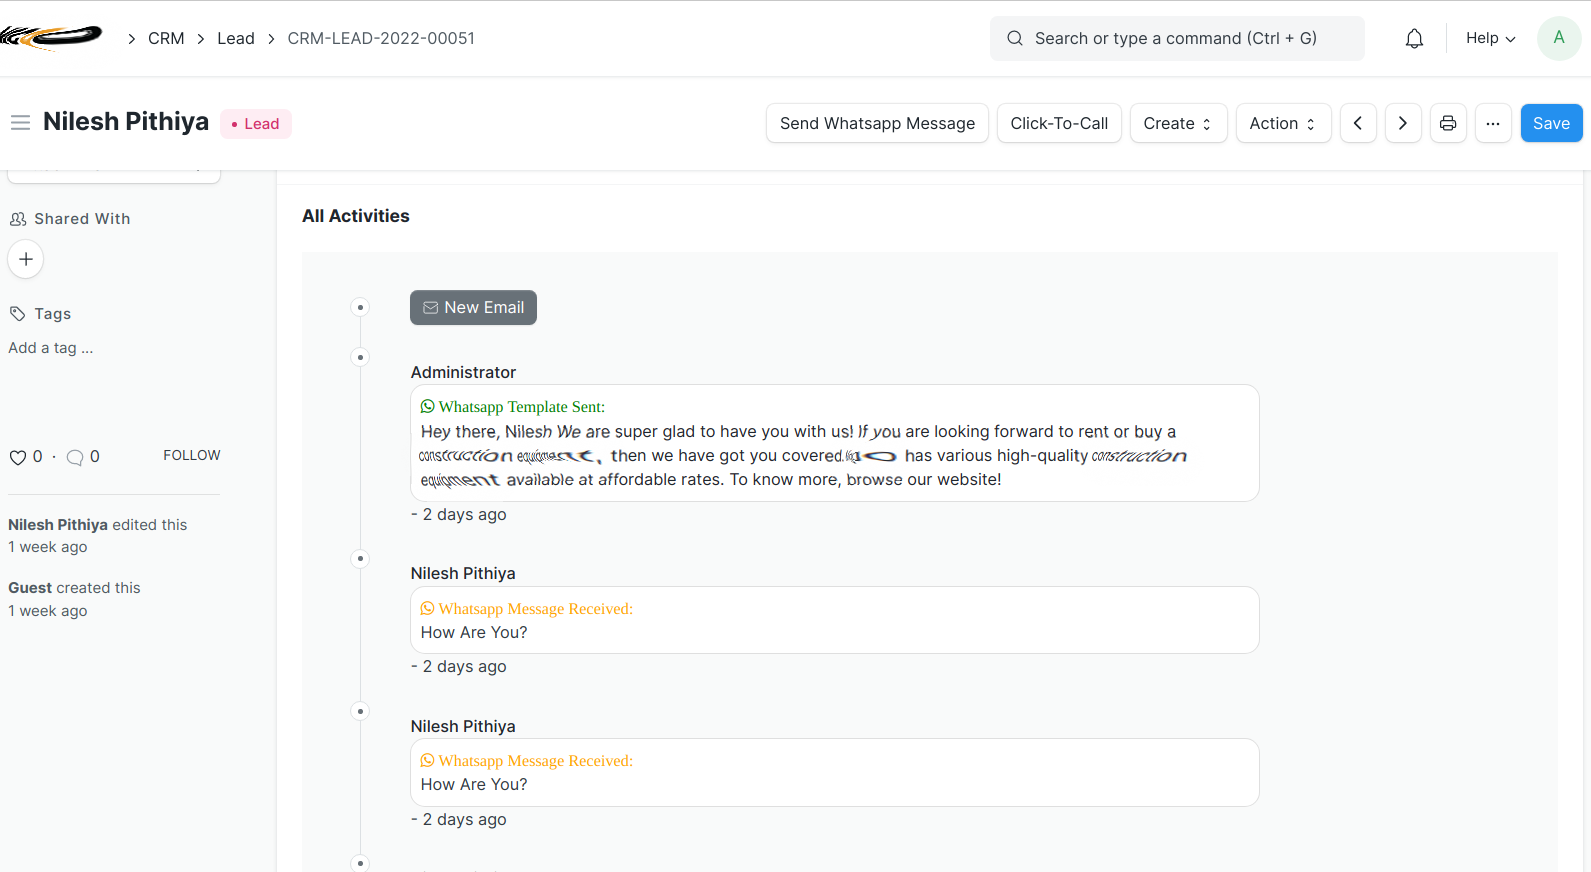
- Step 5 – After sending messages, you can stay updated about the messages sent and received through the user activity page from WATI in JSON format. On top of it, you will also receive notifications so you will not miss out on important messages.
License
MIT
User Reviews
No reviews yet, be the first to review.
0 rating
More apps from
Explore more apps


