Frappe Cloud
Marketplace
Search for an app
Frappe
Products
Insights

Installation Guide
installs
Publisher
Supported versions
Categories
E-Commerce

About
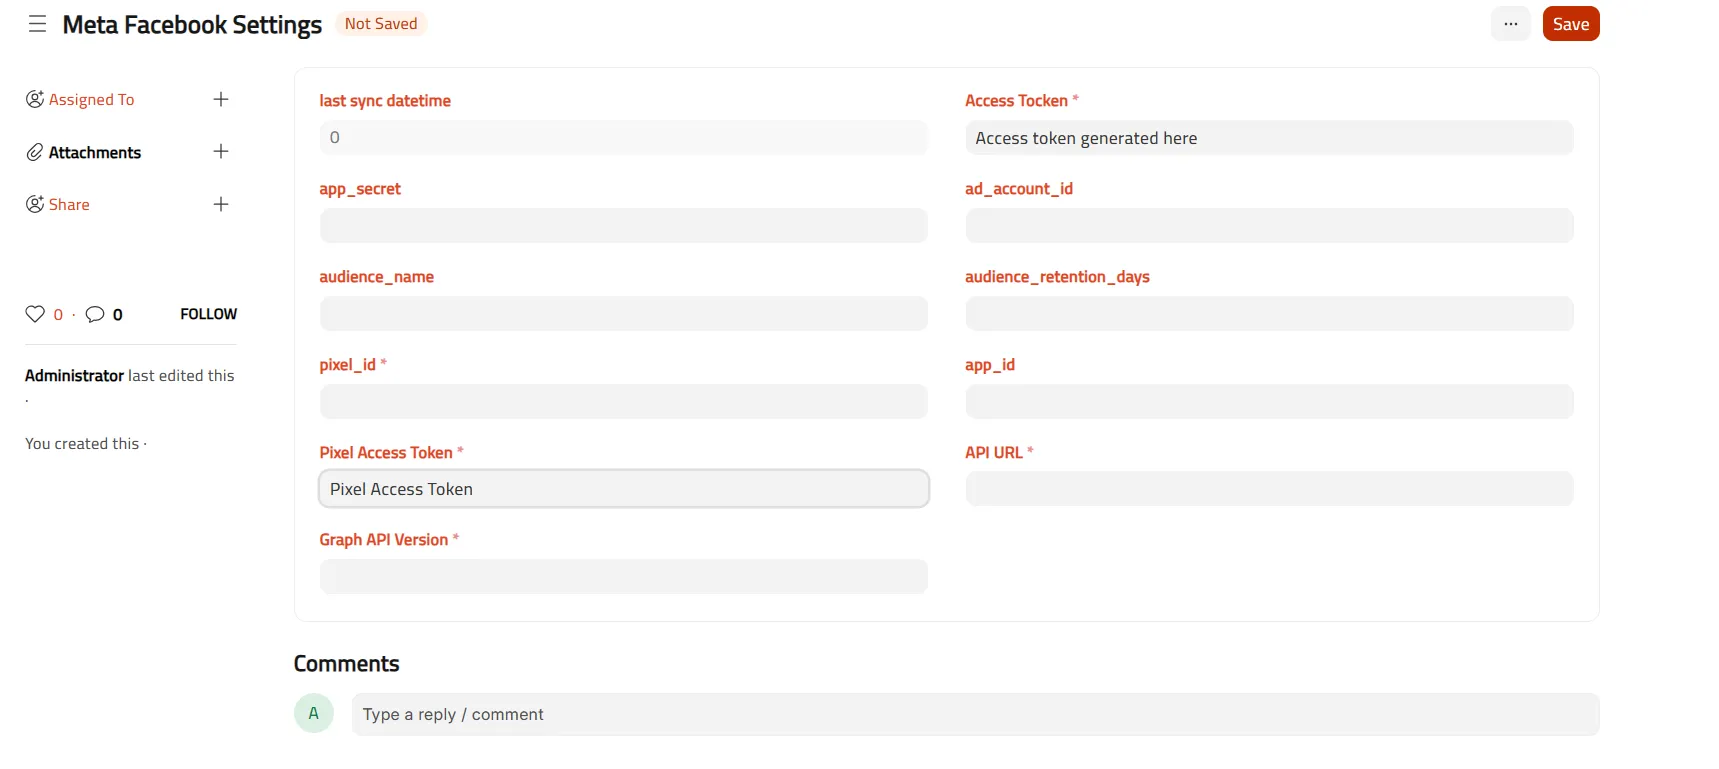
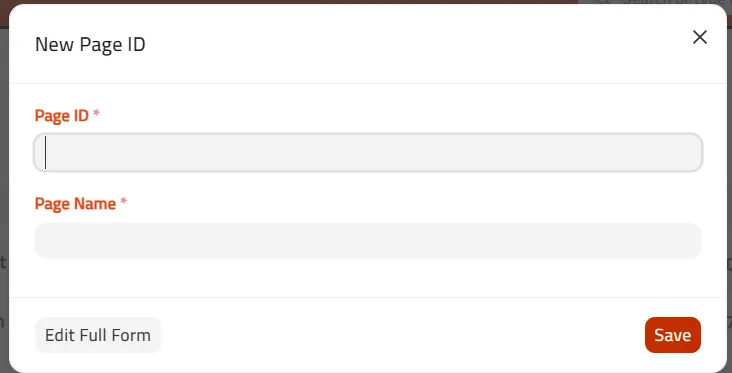
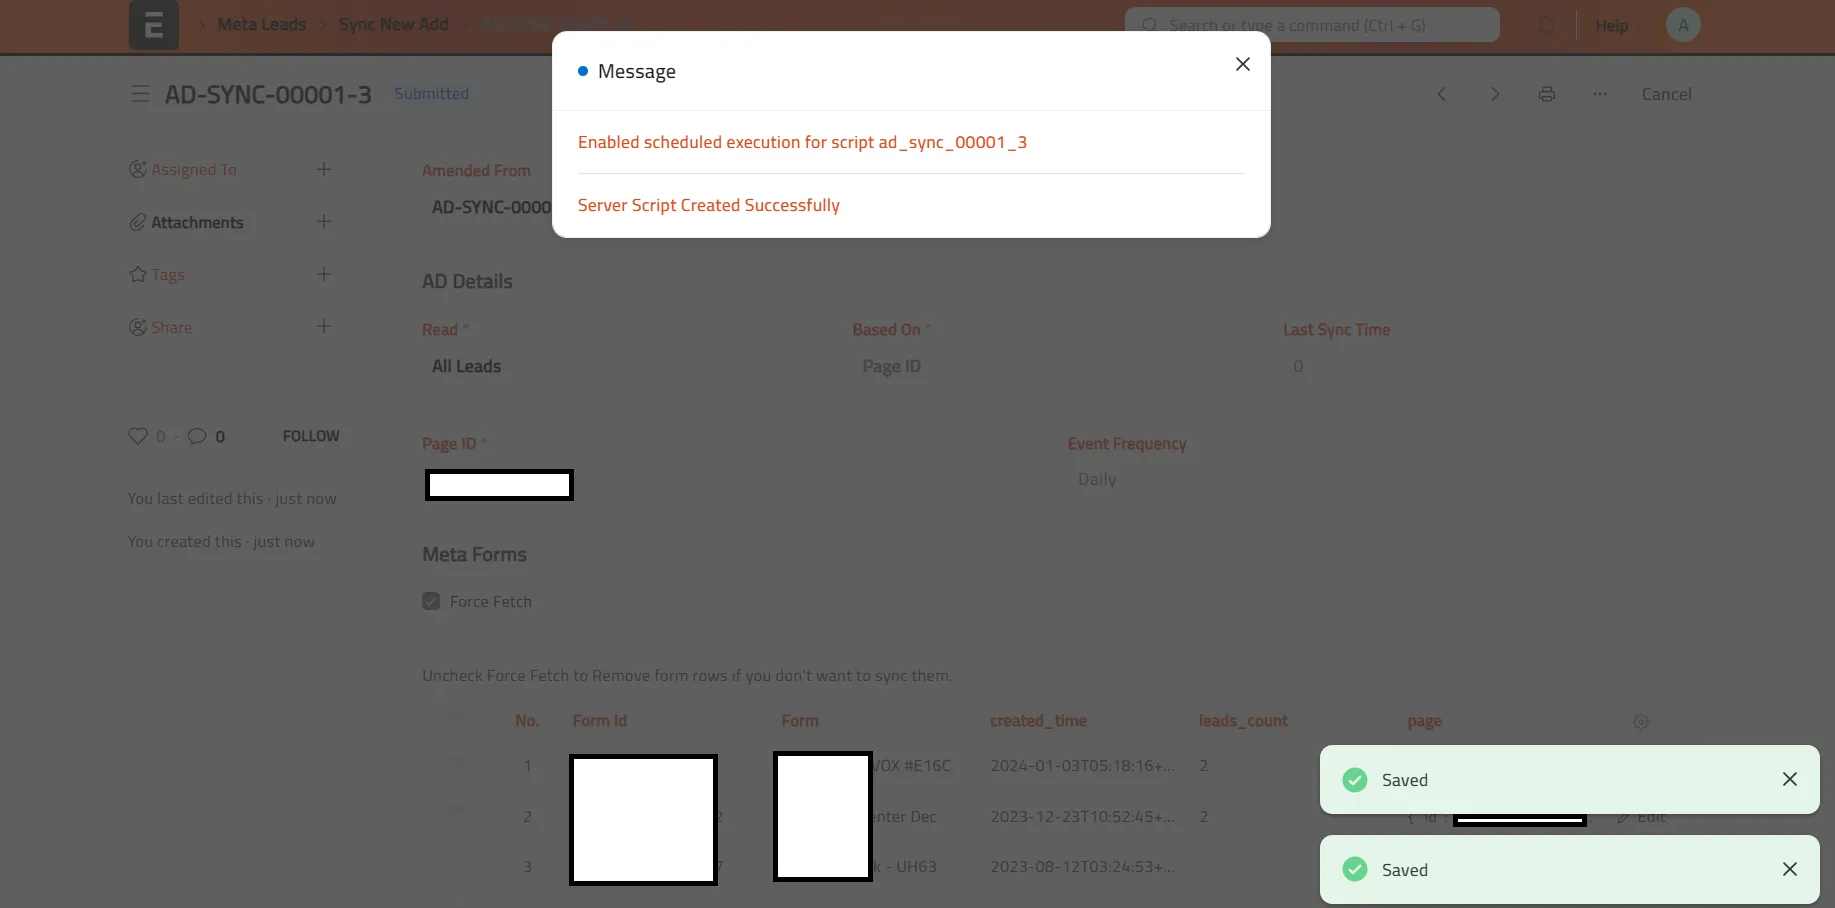
Mansico Meta Integration is a powerful open-source application designed to seamlessly synchronize Facebook leads with ERPNext. When clients fill out instant forms on Facebook Ads, the app automatically fetches the newly created leads and generates corresponding entries in ERPNext's **Lead** doctype. This ensures that all lead data is centralized and readily accessible within your ERP system.
Additionally, the app provides two-way synchronization. Whenever the **Lead Status** is updated in ERPNext, the new status is sent back to the Meta Pixel, enabling real-time tracking and analytics. This feature allows businesses to monitor lead progression and campaign performance directly within the Meta ecosystem.
### Key Features:
1. **Automated Lead Sync**: Fetches new leads from Facebook Ads instant forms and creates them in ERPNext automatically.
2. **Real-Time Status Updates**: Sends updated lead statuses from ERPNext back to the Meta Pixel for enhanced tracking.
3. **Customizable Sync Frequency**: Allows users to configure how often the app fetches new leads (e.g., every 15 minutes, hourly, etc.).
4. **Seamless Integration**: Works with Meta Business Accounts, Marketing API, and ERPNext for a smooth setup process.
5. **Open-Source and Extendable**: Fully customizable to meet specific business needs, with support for additional features like webhooks and custom field mapping.
This integration streamlines lead management, improves marketing ROI tracking, and ensures that your sales and marketing teams are always in sync.
User Reviews
No reviews yet, be the first to review.
0.0
0 rating
Explore more apps